
Pilot Valve Air Cannon
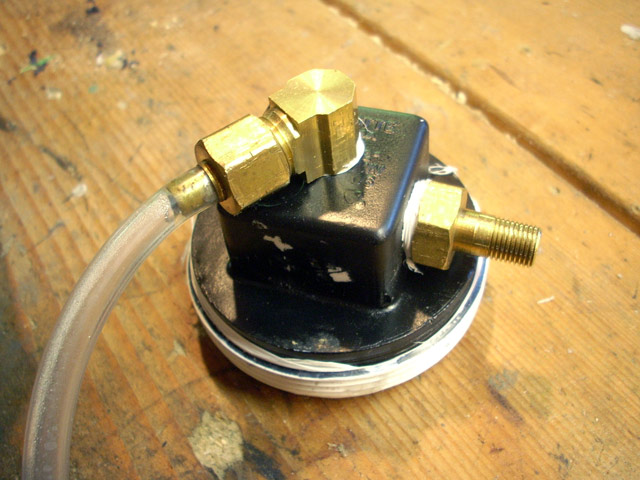 Here's a shot of the finished end cap assembly. There wasn't enough room for proper fittings, so I threaded straight into the PVC.
If you ever need to do this (hopefully not on something critical), the trick is to drill the hole a bit small then cut a notch into the end of the brass fitting like you'd find on a self-piloting screw. If you apply even pressure and turn smoothly (for instance by chucking the fitting into a power-drill) the fitting should tap right in.
 The cannon all put back together after painting. I also added a guide for the pilot hose.
 I guess it's about time for some shots of the internals. The only moving part is the piston (that spindley thing).
Now might be a good time to refer back to the diagram.
 This shot's looking into the cannon from the back. The ring partway down the tube is the divider between the barrel and air chamber. (#1 on the diagram)
 A closer shot of the piston.
 Even closer. This is the rear piston seal. The less leaky this is, the more sensitive the valve will be.
This is the what sucks the piston back when the back of the chamber is vented.
I've tried using neoprene sandwiched between fender washers, but this actually seals better. It's just a lid from a pellet container reinforced with washers.